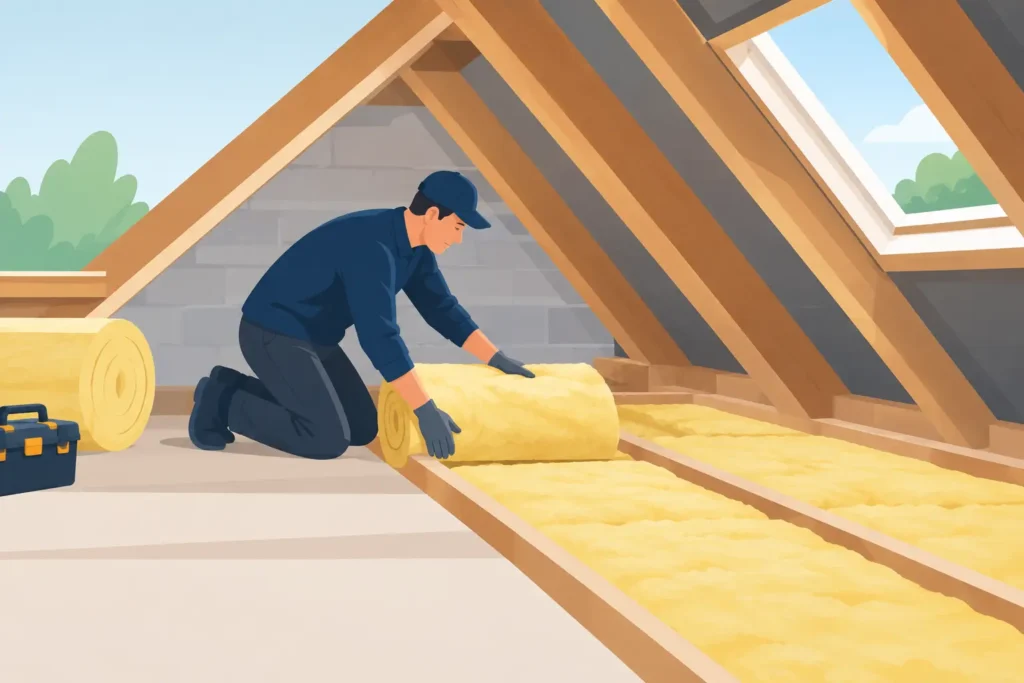
A cold loft is not always obvious from below. You may simply notice that upstairs rooms cool quickly, the heating runs longer than expected, or certain ceilings feel noticeably chilly in winter. A well-planned guide to loft insulation upgrades starts with the condition of the loft itself, not just the thickness of insulation already on the joists.
For many homes, upgrading loft insulation is one of the most practical ways to improve comfort and reduce heat loss. It is also work where details matter. Insulation installed without allowing for ventilation, safe access, electrics or future storage can create avoidable problems. The right approach protects the building fabric while making the home warmer and more economical to run.
Why loft insulation deserves careful planning
Warm air rises, and an uninsulated or under-insulated roof space allows a significant amount of that heat to escape. In older Dorset properties, it is common to find thin, uneven or compressed mineral wool that no longer provides the level of thermal performance expected today.
The aim is not simply to fill every visible gap. Your loft needs insulation that suits how the space is used. A loft kept only for occasional access has different requirements from one used for regular storage, while a roof that may later become a loft conversion needs a different specification again.
Before work begins, inspect the loft for signs of damp, water ingress, timber decay or pest activity. Insulation should not be used to hide an underlying roof issue. Any leaks, damaged felt, missing tiles or condensation concerns should be resolved first, otherwise moisture may become trapped and cause greater damage over time.
Guide to loft insulation upgrades: start with an assessment
A proper assessment identifies what is present, what condition it is in and where heat may be escaping. Existing insulation can often remain in place if it is dry, clean and evenly laid. New material can then be added over it to achieve a more effective depth.
As a general guide, current UK recommendations commonly point towards around 270mm of mineral wool insulation at ceiling-joist level. However, the appropriate build-up depends on the property, existing materials and whether any building work is taking place. Where insulation is part of an extension, renovation or conversion, Building Regulations requirements may also apply.
Check the loft hatch as well as the main floor area. An uninsulated or poorly fitting hatch can undermine an otherwise good installation. A draught-resistant hatch with insulation fitted to its upper side is a small detail that makes a noticeable difference.
Look closely at the following areas during the assessment:
- Pipework and cold-water tanks, which may need frost protection without blocking loft ventilation.
- Electrical cables and transformers, which must not be buried where heat could build up.
- Recessed downlights and flues, which require suitable fire-safe clearances.
- Extractor ducting, which should be insulated and directed correctly to prevent condensation.
These are not finishing touches. They are part of making the upgrade safe and durable.
Choosing the right insulation material
Mineral wool quilt is a popular choice for a conventional cold loft. It is straightforward to lay between and across ceiling joists, provides good thermal and acoustic performance, and is cost-effective for large areas. It works especially well where the loft is not intended for heavy storage.
Rigid insulation boards can be useful where space is limited or a higher level of performance is needed within a thinner build-up. They are often considered for sloping roof sections, dormer cheeks and more complex details. They need accurate cutting and fitting, as gaps around the edges reduce their effectiveness.
Sheep’s wool, wood fibre and other natural insulation products may appeal to homeowners looking for lower-impact materials and good moisture-handling qualities. These can be appropriate in the right setting, but the specification should consider cost, thickness, fire performance and compatibility with the existing construction.
Blown insulation may suit awkward or inaccessible spaces, although it is not automatically the best option for every roof. The material and installation method should be chosen after checking ventilation paths, ceiling condition and access requirements rather than on price alone.
Storage, boarding and safe access
One of the most common mistakes is laying boarding directly over insulation between the joists. This compresses the material and reduces its thermal performance. It can also leave insufficient ventilation around the roof structure.
If you need regular loft storage, raised boarding is normally the better answer. A suitable support system allows insulation to reach the required depth beneath the deck while retaining a stable walkway and storage surface above. The joists should also be assessed before loading them with heavy boxes, furniture or other items. Ceiling joists were not necessarily designed to support substantial storage loads.
Keep storage sensible and organised. A loft that is packed tightly from eaves to hatch is harder to inspect, more difficult to ventilate and less safe to access. Leave clear routes to any services that may need maintenance, including water tanks, valves, cables and extractor ducts.
Do not block ventilation at the eaves
Loft ventilation is vital, particularly in a cold roof arrangement where the insulation sits at ceiling level and the roof space above remains cold. Airflow helps carry away moisture that can otherwise condense on the underside of roof coverings or timbers.
Insulation should extend fully to the perimeter where practical, but it must not be pushed into the eaves so tightly that it blocks ventilation routes. Eaves trays or ventilation chutes can help maintain a clear air path while preventing insulation from slipping into the roof edge.
This balance is especially relevant in coastal and south-coast homes, where changing weather conditions can expose weaknesses in roof coverings and ventilation. If you have seen mould, damp staining, a musty smell or persistent condensation, investigate the cause before adding more insulation.
Think ahead if a loft conversion is planned
Insulating a loft floor for an unconverted roof space is different from insulating a room within the roof. Once the loft becomes habitable accommodation, the thermal envelope moves to the roof slopes, dormers, walls and floor details. Ventilation, fire protection, structural alterations, stairs and escape routes all become part of the project.
For this reason, it is worth discussing future plans before spending money on a basic upgrade. If a loft conversion may be only a few years away, a builder can advise whether certain work should be staged, retained or avoided. There is little value in installing a storage platform or insulation layout that will need to be removed during the conversion.
A planned conversion also benefits from early decisions on roof windows, dormers, plumbing routes and electrical layouts. Good project planning reduces disruption and helps avoid paying twice for the same area of work.
Budget for quality, not just material cost
The cost of a loft insulation upgrade depends on the loft size, access, existing condition, material selected and whether additional work is needed. Removing contaminated insulation, repairing a hatch, adding raised boarding or improving ventilation will affect the total, but can be essential to a proper result.
The cheapest quotation may exclude preparation or overlook technical details that later require correction. Ask what depth and type of insulation are proposed, whether existing material will be checked, how ventilation will be protected and how any boarding will be raised. You should also be clear about who is responsible for dealing with electrics, pipework and waste removal.
For larger refurbishments, combining loft insulation with roof repairs, a new heating system or a loft conversion can be more efficient than treating each item separately. It allows the work to be sequenced properly and gives you one coordinated plan rather than several disconnected jobs.
When to bring in an experienced contractor
Simple top-ups in a clear, dry and safely accessible loft can be straightforward. More complex situations deserve professional input. This includes properties with damp concerns, irregular roof structures, old wiring, extensive storage requirements, converted lofts, roof alterations or plans for future structural work.
An experienced contractor can assess the wider condition of the space and coordinate the necessary trades, rather than treating insulation as an isolated task. For homeowners planning broader renovation work in Bournemouth, Poole or across Dorset, this joined-up approach helps protect the quality of the whole project.
The most useful upgrade is one that suits the house you have and the plans you are making for it. Done carefully, loft insulation should be something you stop noticing altogether – except when the home feels warmer, quieter and more comfortable through the colder months.